


Installing Your iPhone 6 Screen Protector
May 6, 2016
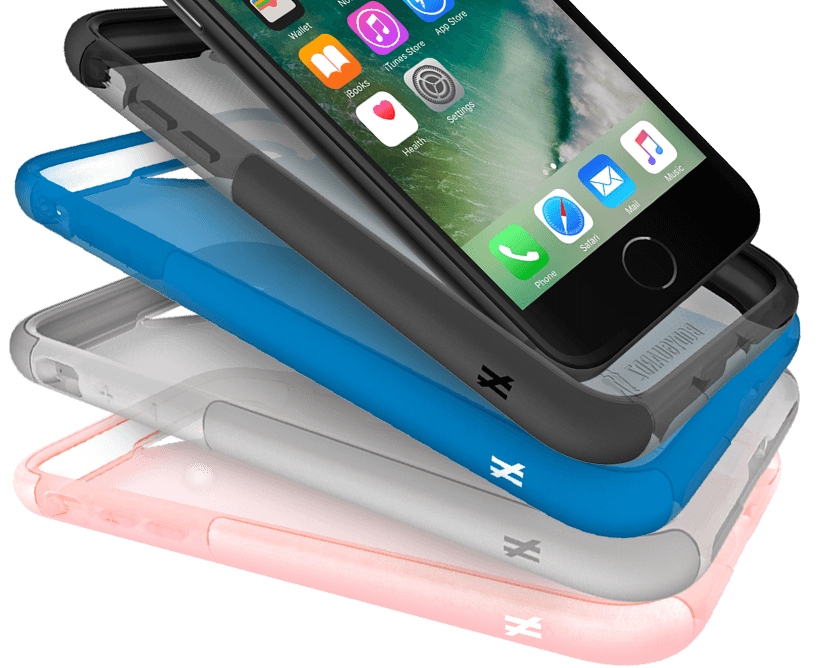
iPhone 6 screen protector
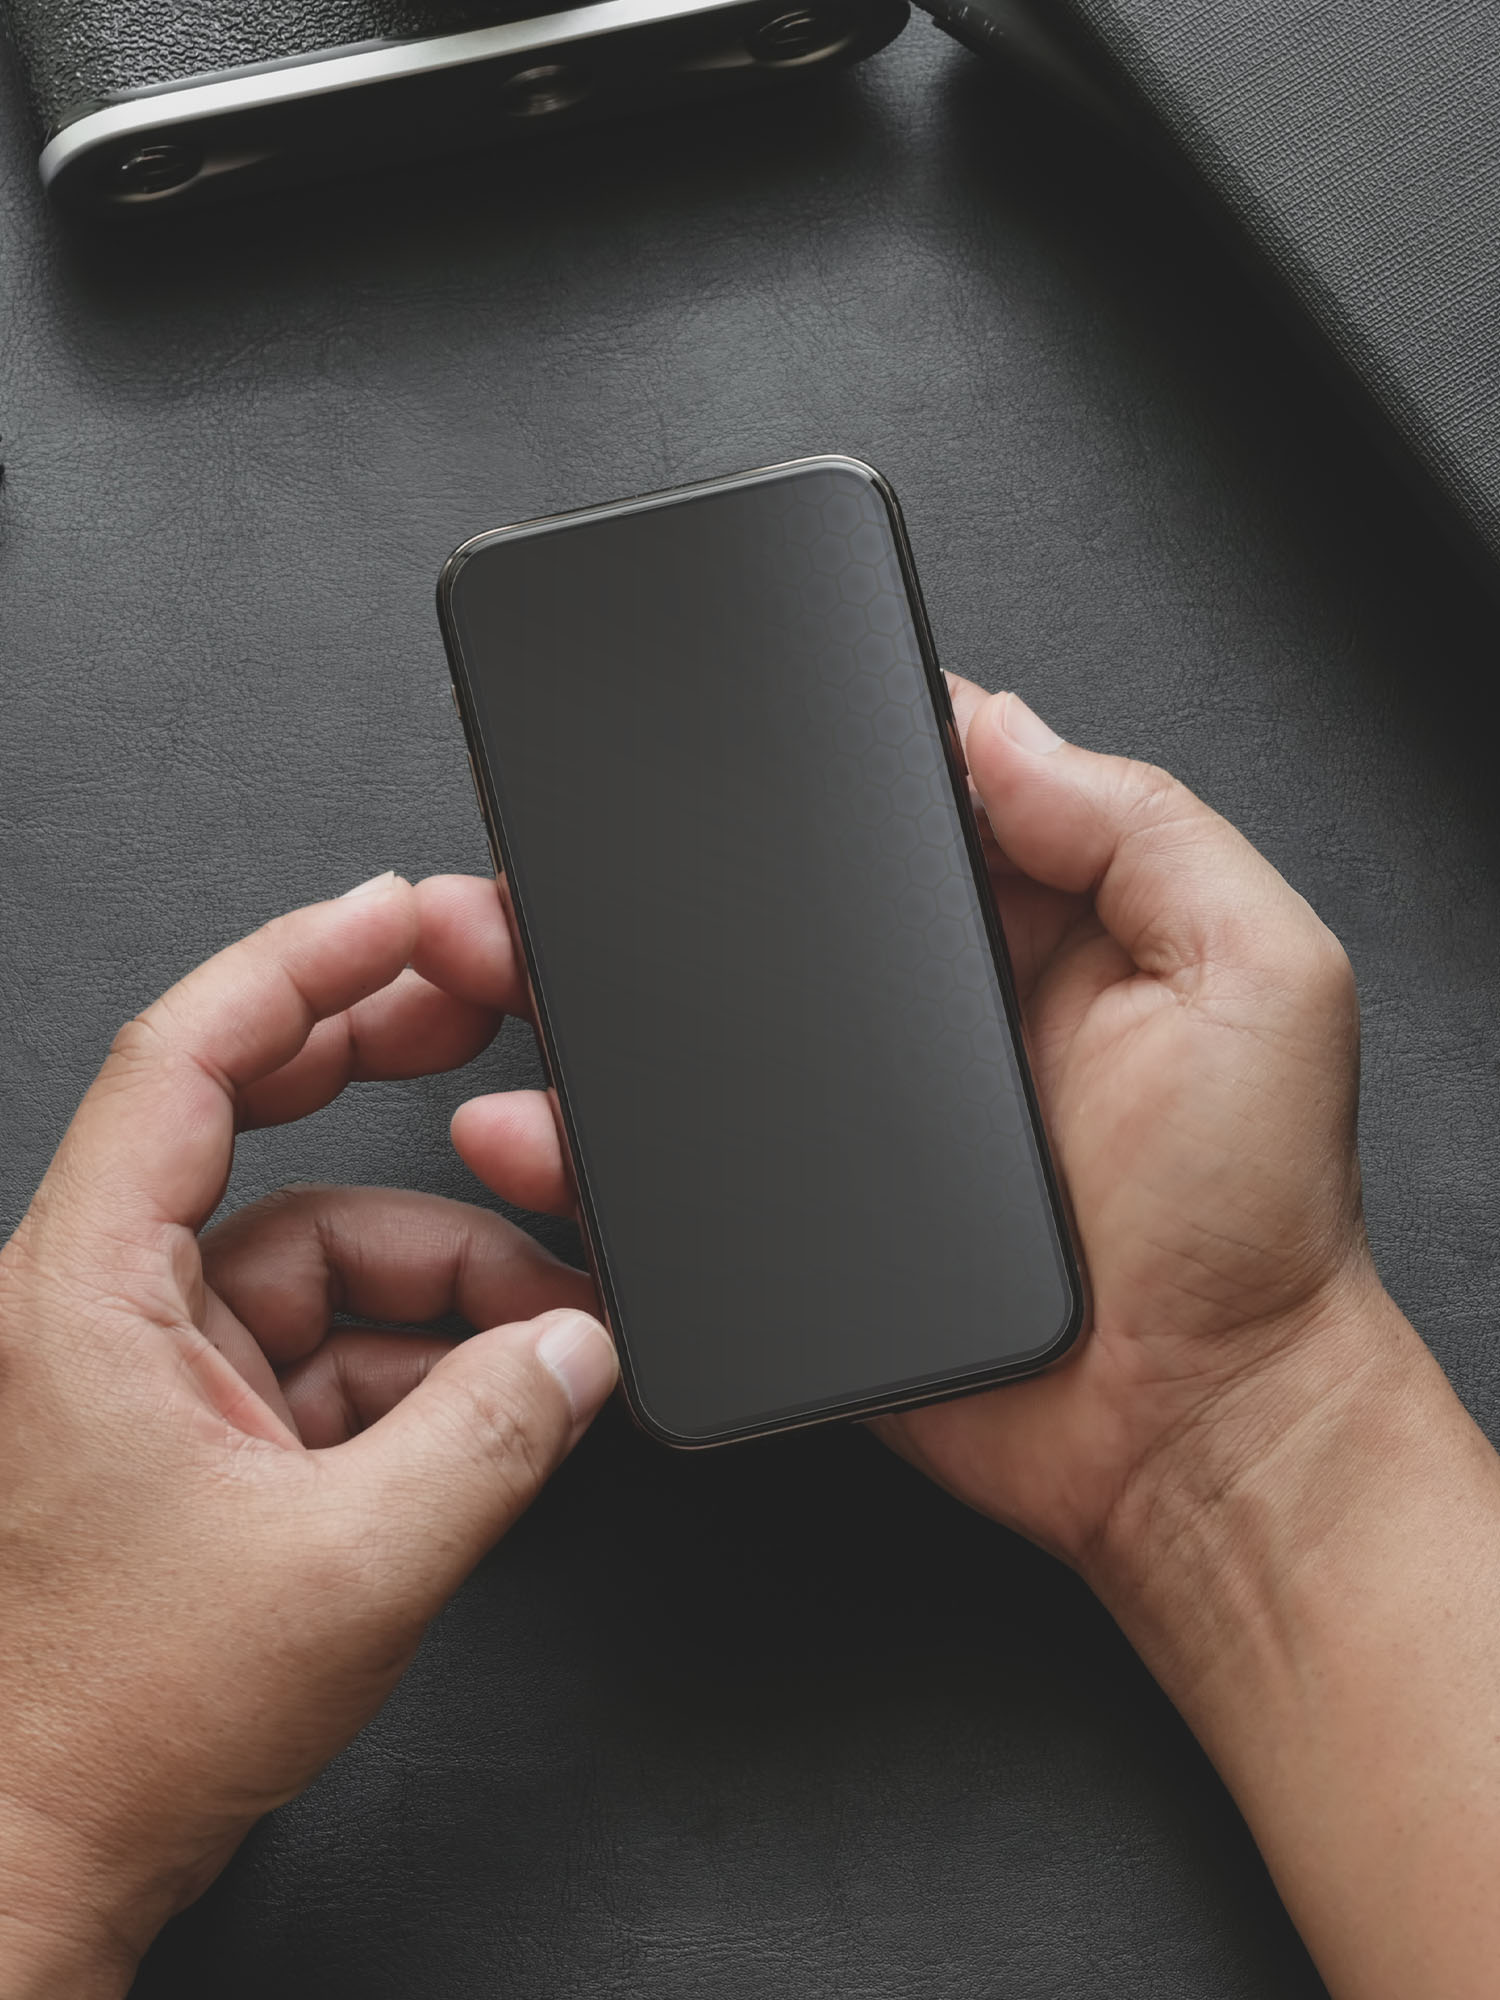
Placing a Screen Protector on Your iPhone 6 or Other Device
There can be little down that an iPhone 6 screen protector is one of the most essential smartphone accessories you can own. In fact, many people do not leave the store after buying their new phone without also buying a screen protector and shell case. Without these valuable protective items, your brand new phone could be damaged in all kinds of ways in just minutes. A single drop could shatter the screen, scrape or dent the metal case, scratch or pit the glass – so many things could happen to a new phone in no time at all. No matter how careful a smartphone owner thinks they will be, anyone who has ever owned one of these devices for any time at all will tell you just how important it is to make that small initial investment in protection for phone and screen.

Buying a Screen Protector
First, you will need to select a screen protector; shop according to the model of your particular iPhone. Look for a protector made by a reputable manufacturer; online reviews can give you some important insight into the customer user experience that other users have had. Fortunately, you can find many protectors from respected companies through Gotta Be Mobile for great prices. You can buy a protective case for your iPhone at the same time.
Preparing to Apply the Screen Protector
Because each manufacturer creates products that are slightly different from one another, customers should first refer to the directions included with the iPhone 6 screen protector they have chosen. That said, you are likely to find the application process broken down into around five different steps. These are:
Removing the phone from its protective shell. If you have already placed your phone into an after-market protective case, this shell will need to be removed. Many cases are designed to hug the edges of the screen in order to deflect forms of damage like drops and bumps. This beneficial design feature has the potential to interfere with the shield’s application, so simply remove the case for the time being.
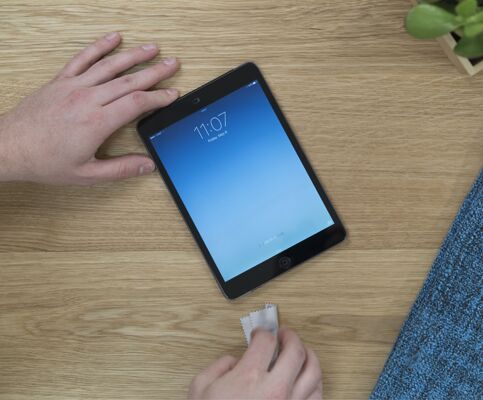
Cleaning your device’s screen. Carefully wipe dust, hair, crumbs and other small pieces of debris from your phone’s screen. A microfiber cloth is a great choice for this task.
Access the shield. Screen shields are usually placed on a piece of paper that has been coated in a thin layer of plastic; this is to prevent the shield from sticking to other surfaces and to keep the adhesive fresh and ready to use.
Set your iPhone on a flat, even surface. Find a table or desk where you will not be disturbed for a few minutes. Place your device in front of you, making sure you have a few inches clearance on all sides to work comfortably. If possible, remove items that might drop dust or food crumbs onto your work area.
Prepare any other tools included in the package. Depending on how the shield is applied, you may find additional items that will help with the process. Familiarize yourself with these items and have them ready to use.
The item most likely to be included with iPhone screen protectors is a small straight edge made of plastic or stiff paperboard. This is used to fully flatten the protector against the screen and to press any pockets of trapped air towards the edges. Taking care to adhere to every portion of the shield is important. The uneven application can result in areas that are less protected than others; this can weaken the ability of the shield to protect your new iPhone.
Applying the Shield to Your Phone
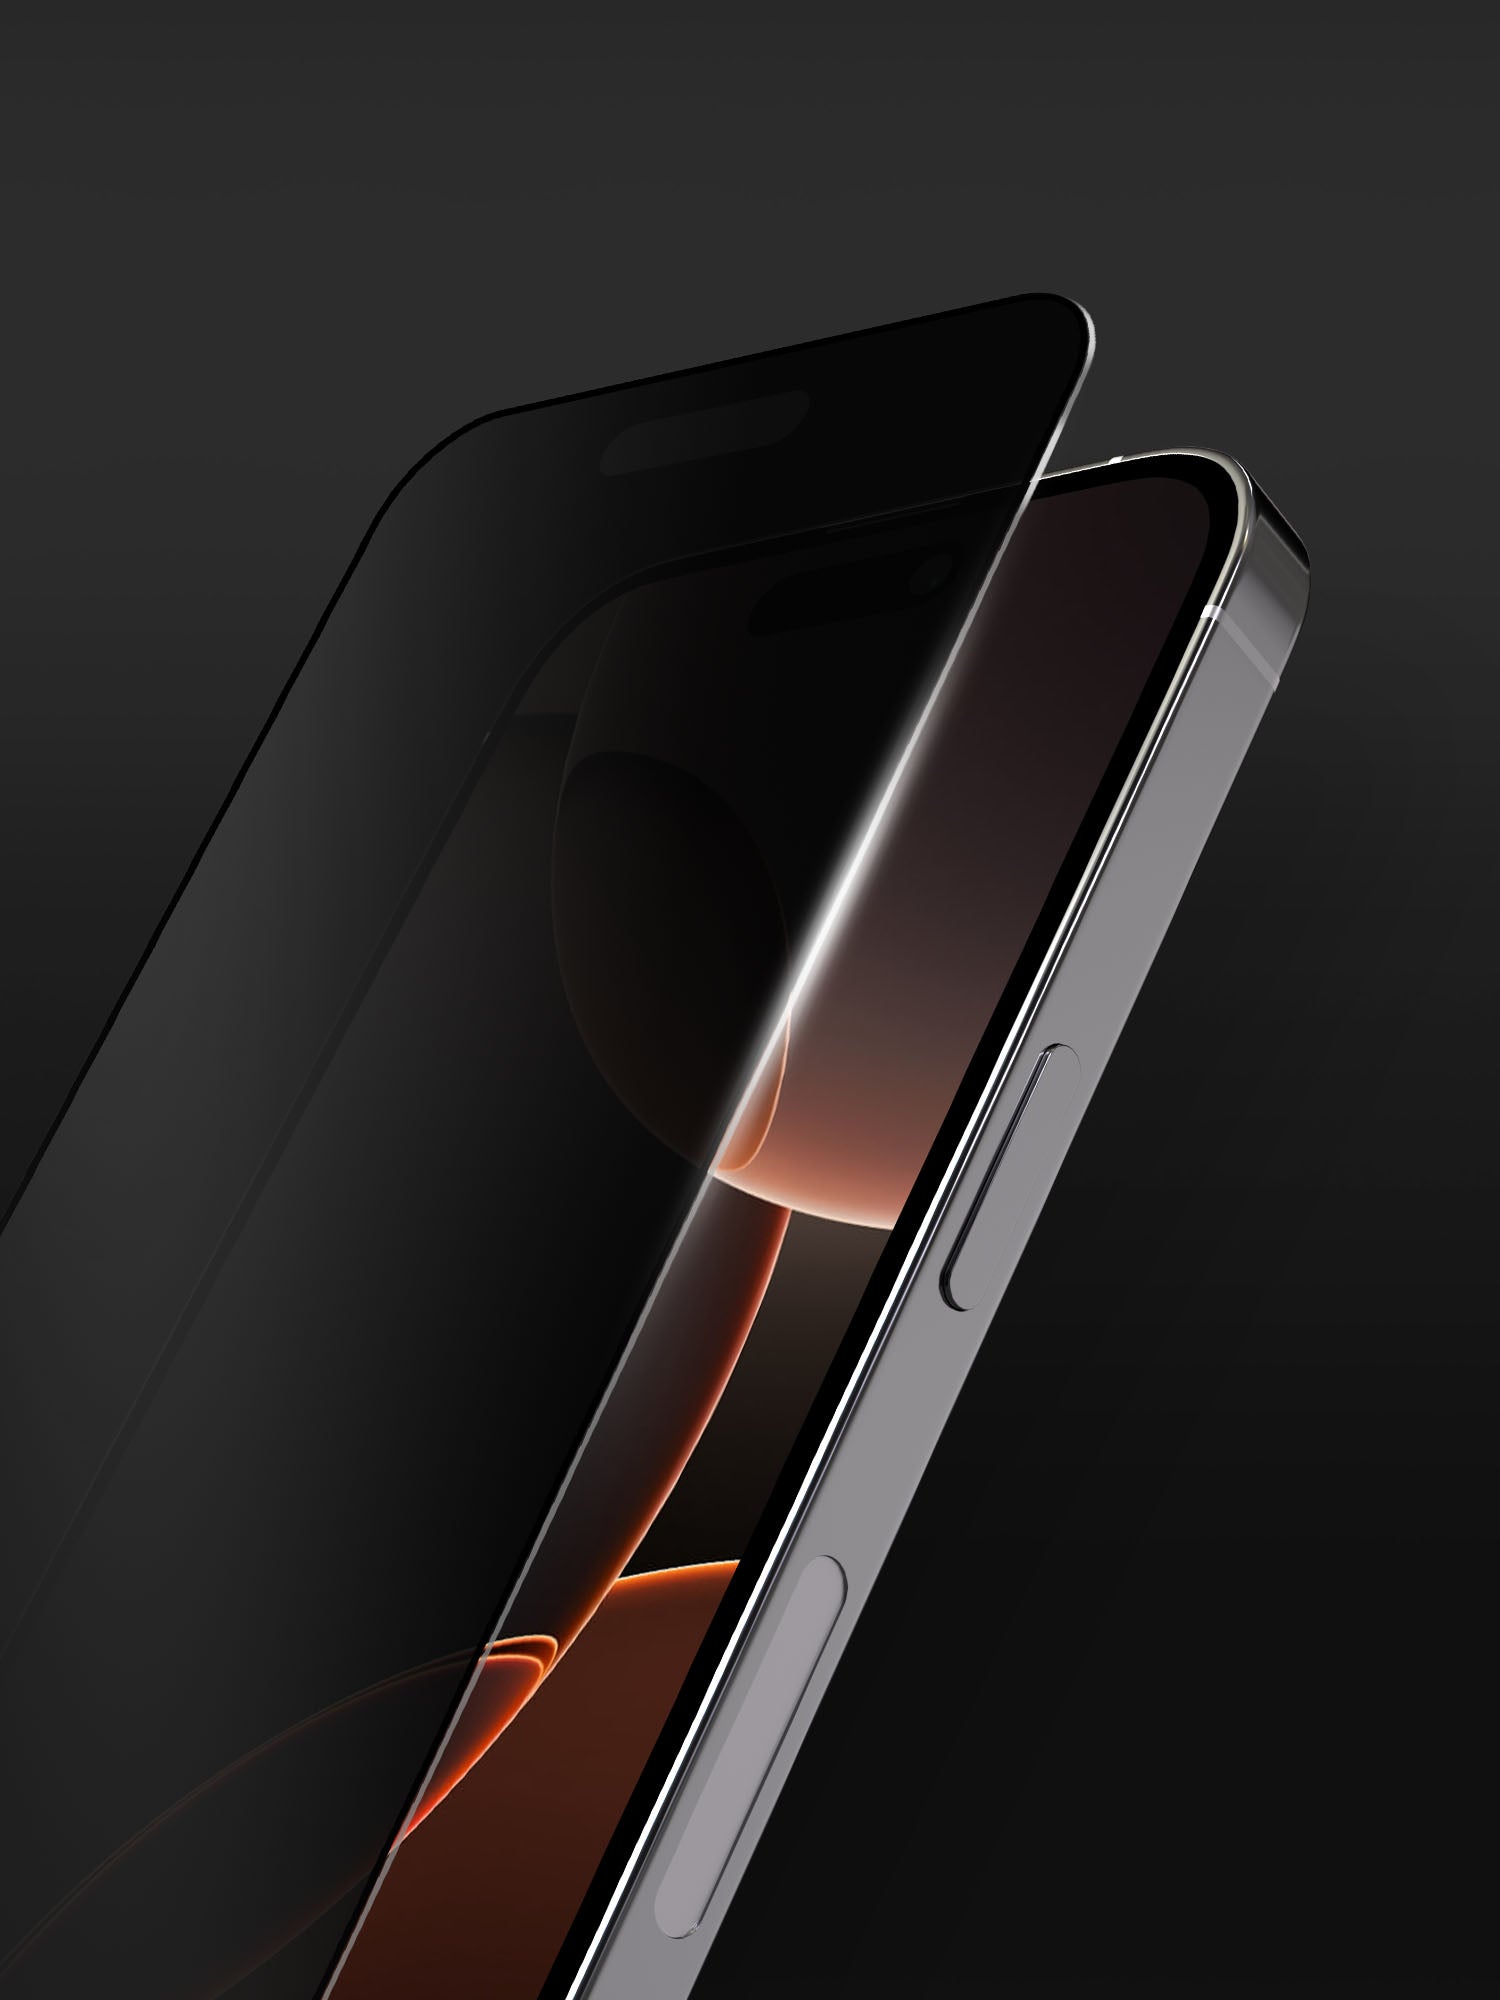
Next you will remove shield from its storage paper. There are often small tabs near the edge of the shield that will help you lift it off the paper. Although these shields are highly durable, do not tug or pull it too hard; the material can stretch or tear, thus reducing its ability to protect your phone.
Carefully align the edge of the shield with the edge of the screen. Most protectors are cut to precisely match the size of an iPhone’s screen, though some shield designs leave a little clearance around the edges to protect the portion of the phone that holds the screen in place. Once you have the shield lined up with the screen, begin applying the protector to the device. You can work slowly in order to prevent air bubbles and wrinkles from getting trapped. When the shield is adhered to the screen, press firmly on the material to secure the bond. Application tools included in your phone protection kit can be used at this time.

Can I Use My iPhone Right Away?
Once the screen protector is in place you may need to let the adhesive cure for several hours. This secures the bond between protector and device, preventing accidental slipping and ensuring that the shield will properly protect your smartphone. Not all screen protectors require this extra period of time, so it can be helpful to read through the manufacturer’s instructions before deciding to apply the protector right away; you may need to choose a time when you can allow your device to rest for a long period of time.
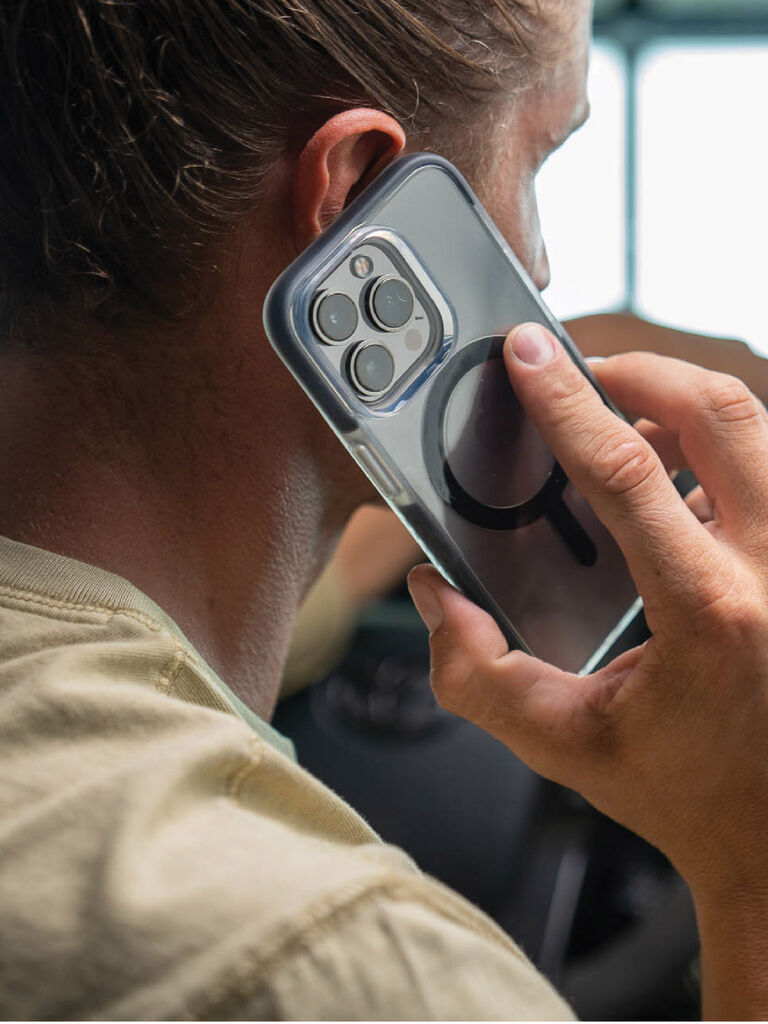
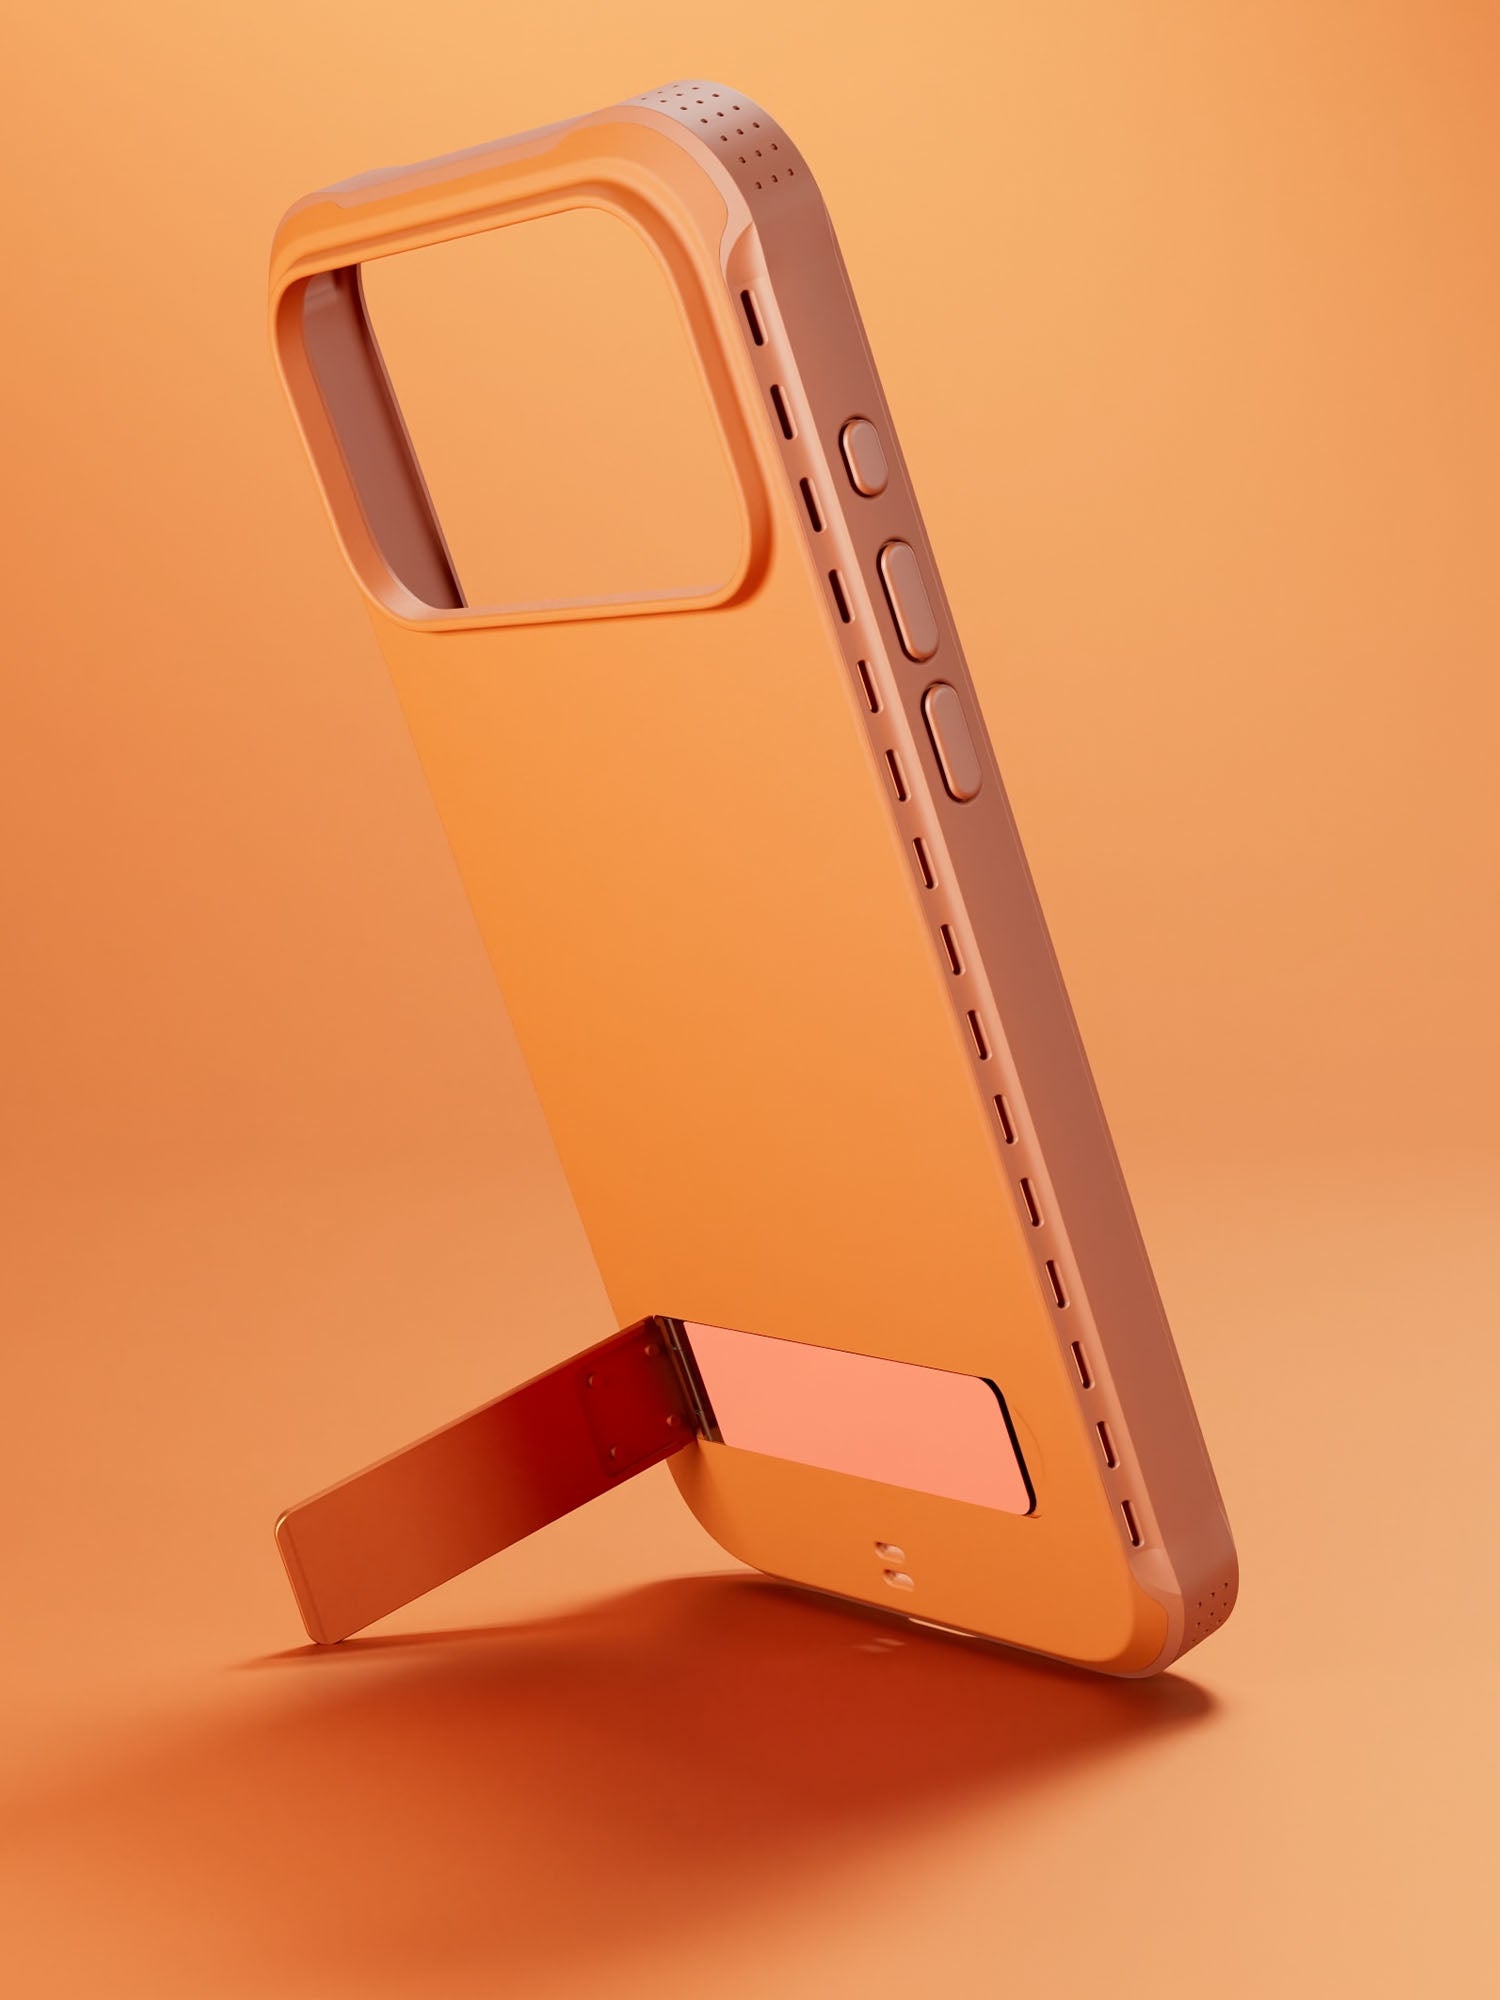
You can replace your iPhone in its protective case at this time. This is a good way to keep your device protected even while it is resting. Gotta Be Mobile sells many different iPhone 6 cases so you can find one that perfectly suits your tastes and needs. Keep in mind that most iPhone case manufacturers do not include screen protection shields with their cases; you will probably need to purchase these two protective accessories separately. Shields are very reasonable in price, so you do not need to worry about blowing your budget.
Enjoy Your Protected iPhone
After applying the screen protector you can use your smart phone as you normally would. The surface of the screen might feel a little different at first but the touch screen functions will work flawlessly. You can use your finger or a stylus with ease; the protector will accommodate any approved tools that are compatible with your iPhone 6.
Leave a comment
This site is protected by hCaptcha and the hCaptcha Privacy Policy and Terms of Service apply.